Start Now and Spring into a Great Harvest
by Laurie Cerny
In most parts of the country, winter was long and harsh. This resulted in horse owners going through their stored hay more rapidly, which makes this year’s first cutting even more important. Though still officially winter, spring will be here in a hurry. It’s not too early to get ready for the 2014 hay season.
Waiting until the last minute to make sure your hay equipment is in order, or dragging your feet on fertilizing your fields, is not a good way to start off hay season. Furthermore, waiting until you have a load of new hay to stack (and of course rain is always on the way) is not the time to be organizing your hay storage areas. An early start will save you headache later on. Here are some tips to help you have a successful hay season this year:
- Assess your current hay supply: How much do you have left? Will you feed it out during the spring and summer , or will it carry it over for next winter? Know how and when you will use the hay that is left. This will help in organizing storage for this year’s supply. Put hay that you will continue to feed through the spring and summer in an accessible area. Clean out all old hay in areas where you will stack the new hay. Putting down skids and tarps before stacking, or putting down one row of straw, will prevent the bottom from getting musty.
- Be ready to fertilize and/or spread manure the minute the weather breaks. Sometimes we have little real spring weather and instead temperatures go from freezing one day to the 70’s within a few days. Several years ago this happened and it left many hay growers without any opportunity to spread manure and fertilize. Manure can be spread early, even if there is a little snow on the ground. You want to make sure to allow enough time for the inert material to break down before making hay—four weeks is about the minimum amount of time you should allow. Chemical fertilizing can be done later; you should at least have some growth before

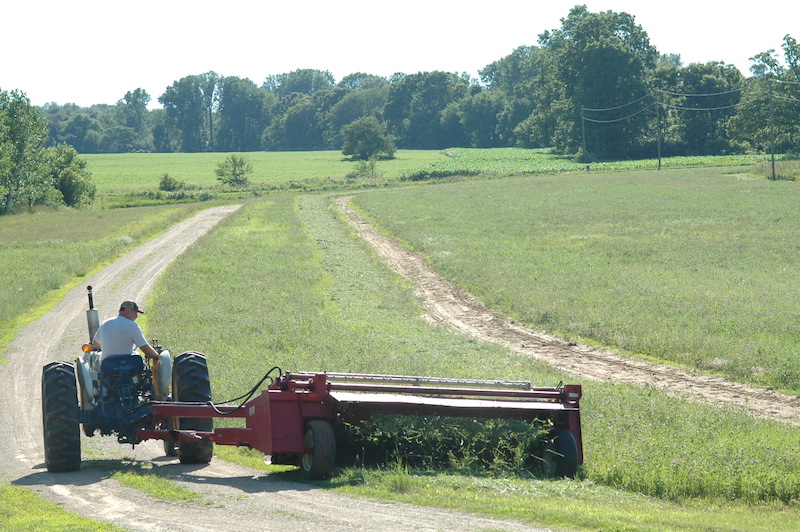
Make sure hay making equipment is in order before you drop any hay; it is key to getting the first cutting off without a hitch. Photo credit Laurie Cernyapplying and probably want to allow at least three weeks before your first cutting. - Go over hay making equipment and make sure any repairs are made before cutting any hay. Oil and grease everything that’s moveable. Check tires (they love to crack and go flat over the winter). Check any chambers where mice and other rodents could have over-wintered. We had a mouse nest in our take-up chamber in our baler last spring; it literally blew our baler apart and resulted in us picking three acres of hay up by hand. Another time, we had a snake that hibernated in the baler twine roll. We now take our rolls out and store them inside for the winter. Last, but not least, fire your equipment up two or three weeks before you plan to make your first cutting. Don’t wait until your hay is down to try your baler. Remember Murphy’s Law for hay making: If it’s going to break it will be on a Sunday, when every farm supply store is closed.
- Have a back-up plan in case you have an equipment malfunction. This means having a few spare parts on hand (chains, springs, pins, teeth), as well as second pieces of equipment, if possible. We now have a second baler and keep our 70-year-old hay rake as a back-up for the newer hay rake. We also have a sickle mower – just in case our mower/conditioner breaks down. Try to line up someone to make your hay on shares or who will do custom work in the event you find yourself totally out of commission with your hay equipment.
Growing and harvesting hay will always be labor intensive, but with a little preparation and forethought you can make it less stressful.
Published March 2014 Issue

The Colorado Horse Source is an independently owned and operated print and online magazine for horse owners and enthusiasts of all breeds and disciplines in Colorado and surrounding area. Our contemporary editorial columns are predominantly written by experts in the region, covering the care, training, keeping and enjoyment of horses, with an eye to the specific concerns in our region.

